Arbi ki Sabji is a delicious Indian dry curry dish made by stir frying arbi (taro roots) along with a unique combination of spices.
Arbi ki Sabji is a very easy recipe to make. This dish which is crispy and spicy, is perfect to make a scrumptious weekday meal.
Sookhi arbi is a summer vegetable made from tuber of arbi plant also known as taro root or colocasia. It is a delicious Indian vegetarian dish thoroughly enjoyable both in spicy gravy form as well as the more common dry form.
What is arbi?
Arbi or taro roots are believed to be one the oldest cultivated plants. The leaves as well as tuber of arbi are used for cooking, though the tuber is more widely used.
Arbi leaves and root (tubers) are used in a variety of ways which differ from country to country and even in India there are many regional variations. Arbi tuber is used to dry vegetables, curries, chips, kebabs and even used as a staple food in some regions of the world.
Nutritional Info
Arbi ki sabzi owes its unique and delectable taste to the spices used in its preparation. In Indian subcontinent, ajwain seeds (carom) are added to the dish to it make it tastier and the seeds also are helpful in its digestion.
Arbi root is even richer than potato in starch content. It is also a good source of dietary fibre, protein, phosphorus, calcium, iron, vitamin A, vitamin C, thiamine, riboflavin, niacin and folate.
Serving Suggestions
Arbi ki sabji goes very well with almost all Indian breads like roti, paratha, poori, naan etc. This dish made from boiled arbi together with flavourful spices is great option to carry while on road trips or small outings and tastes yummy with pooris on a picnic.
To make Arbi Ki Sabji at home follow the detailed step by step recipe with photos posted below.
See more related recipes like:
- Gajar ki Sabji – carrot stir fry
- Aloo Patta Gobhi – potato & cabbage curry
- Aloo Bhindi – potato & okra curry
- Aloo Capsicum – potato & capsicum curry
- Bhindi Ki Sabzi – okra stir fry
- Tindora Fry – ivy gourd stir fry
Suggested recipe collections
- Indian Curry Recipes | List of 40 Indian Vegetarian Gravies
- Indian Sabzi Recipes | 21 Dry Vegetables | Sookhi Sabji

Arbi Ki Sabji Recipe | Sookhi Arbi Masala Sabzi
Recipe Info
Nutrition
Ingredients For Arbi Ki Sabji Recipe | Sookhi Arbi Masala Sabzi
- 200 gm Arbi (Taro Root)
- 1-2 Green Chillies
- 2 Tablespoons Coriander Leaves (Cilantro or Dhaniya)
- 1 Teaspoon Ajwain (Carom Seeds)
- 1/2 Teaspoon Turmeric Powder (Haldi)
- 1 Teaspoon Red Chilli Powder
- 1/2 Teaspoon Coriander Powder (Dhaniya Powder)
- 1 Teaspoon Salt
- 2 Teaspoons Lemon Juice
- 2 Tablespoons Cooking Oil
Step By Step Instructions for Arbi Ki Sabji Recipe | Sookhi Arbi Masala Sabzi
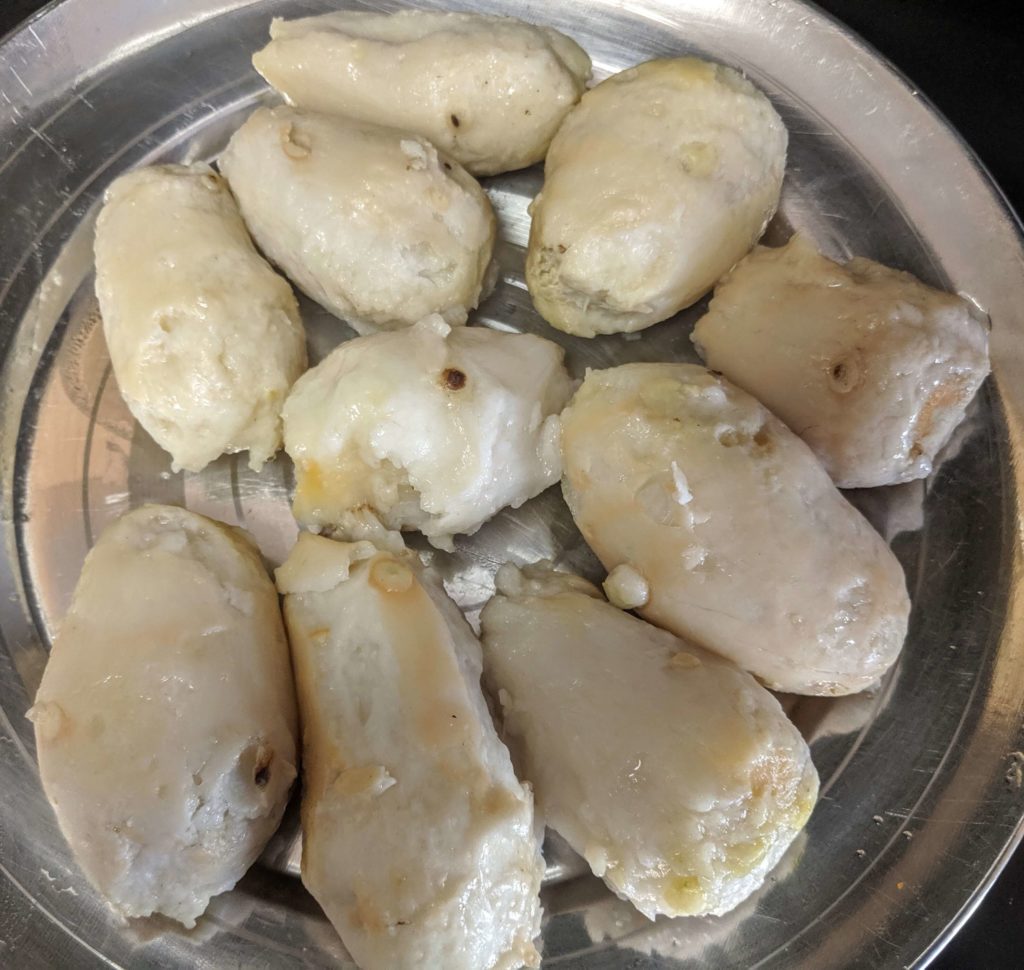
- Wash the arbi and add them to pressure cooker along with water. Pressure cook them till you get 1 whistle. After that cook for 1 more minute on lowest heat setting.

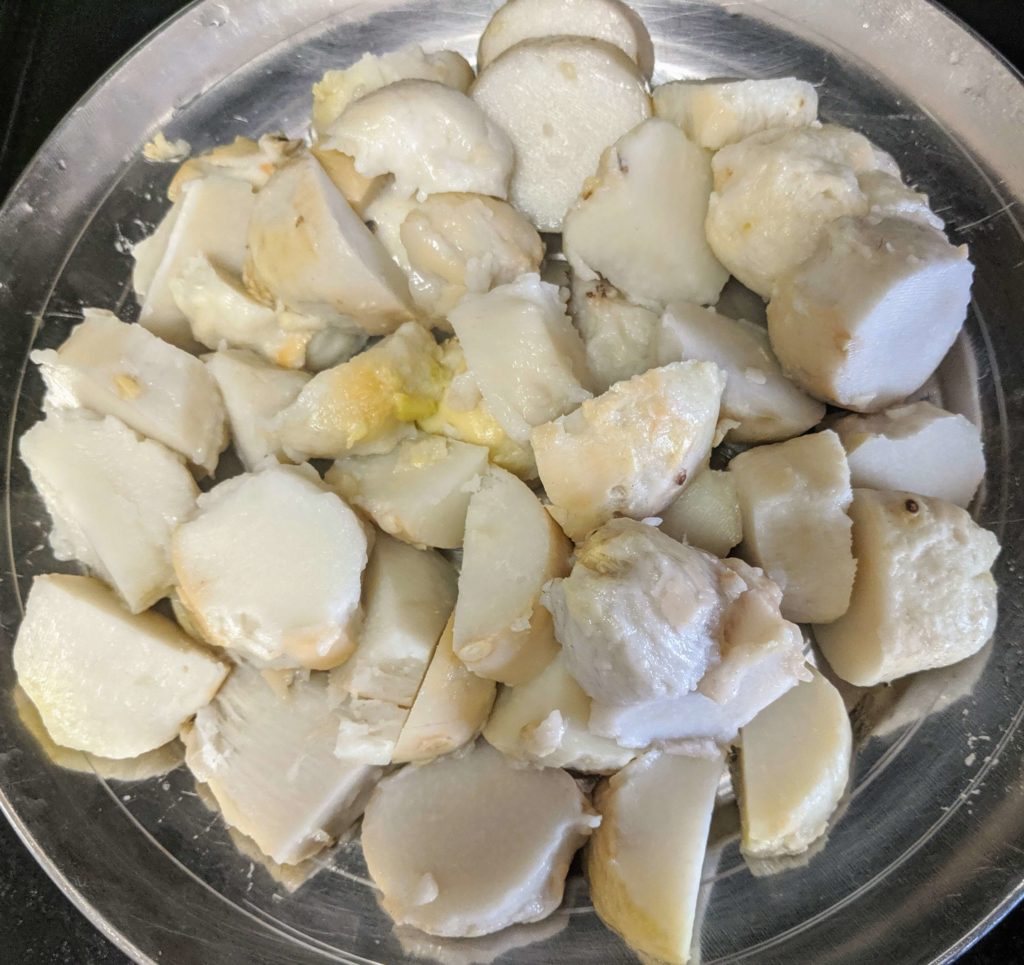
- When the steam from the pressure cooker is gone, remove the arbi from the cooker and let them cool down. Then remove the peel from the arbi.

- Cut the arbi into large pieces.

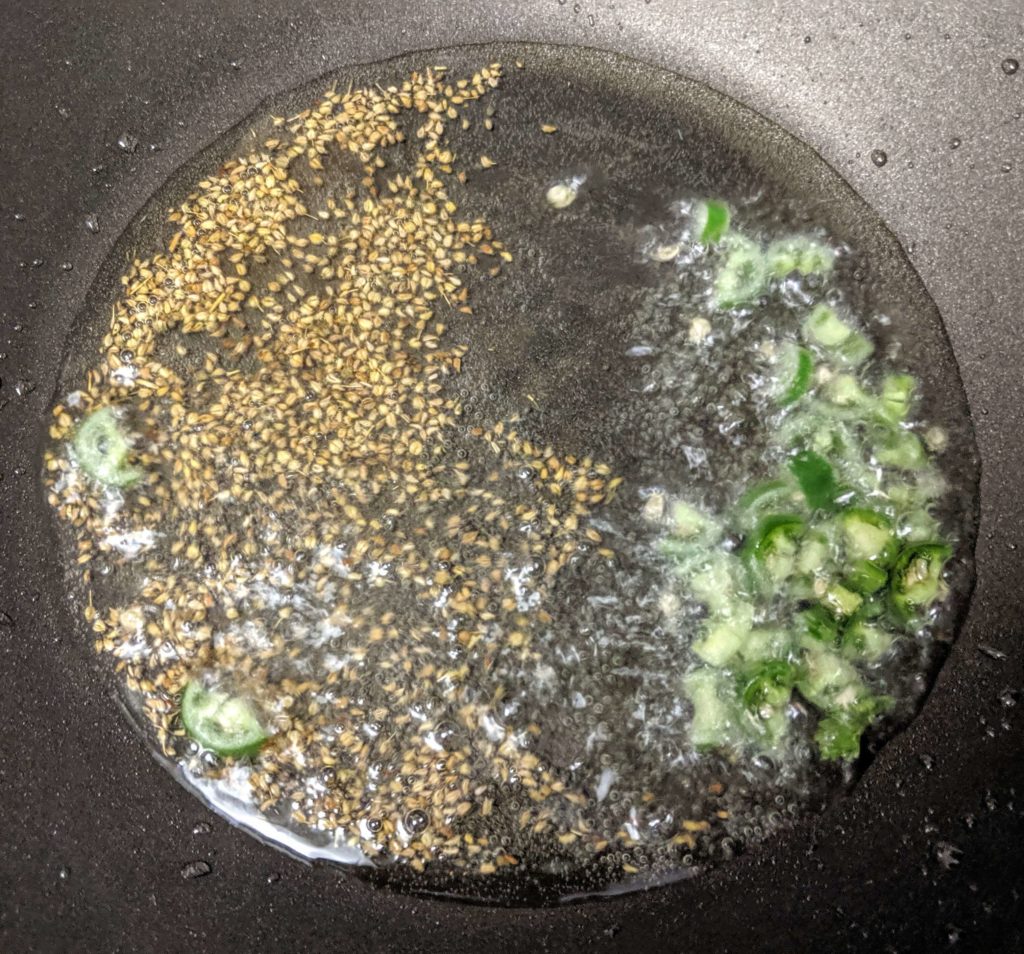
- Heat oil in a pan and add ajwain (carom seeds) and chopped green chillies in the pan.1 Teaspoon Ajwain (Carom Seeds)

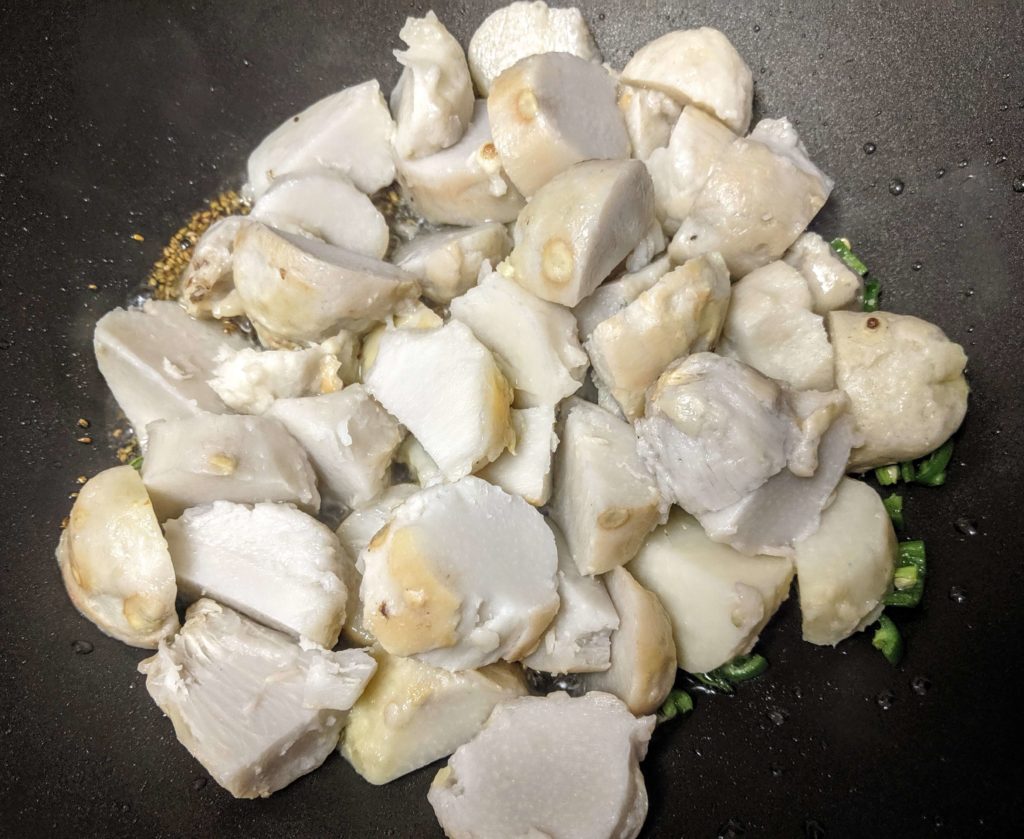
- Then add the chopped arbi to the pan.

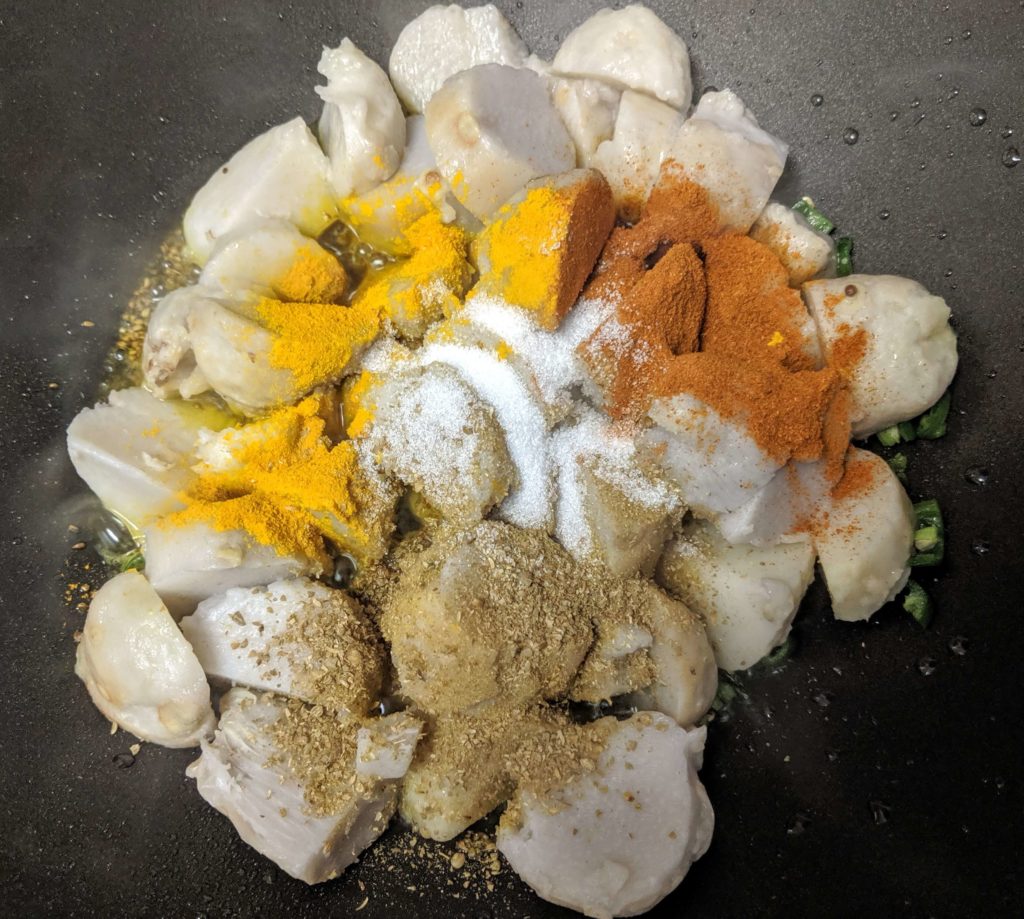
- Add turmeric powder (haldi), red chilli powder, coriander powder (dhania) and salt to the pan.1/2 Teaspoon Turmeric Powder (Haldi), 1 Teaspoon Red Chilli Powder, 1/2 Teaspoon Coriander Powder (Dhaniya Powder)

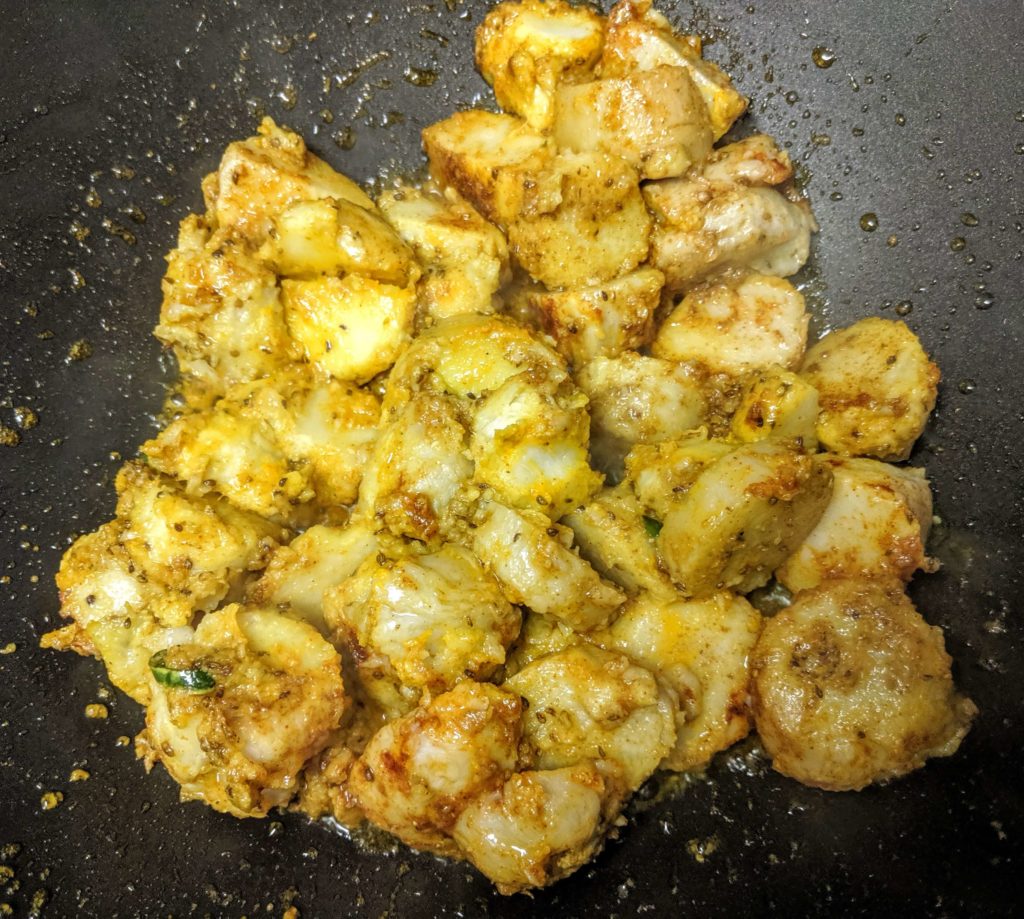
- Mix well and cook the arbi for 2-3 minutes on medium flame.

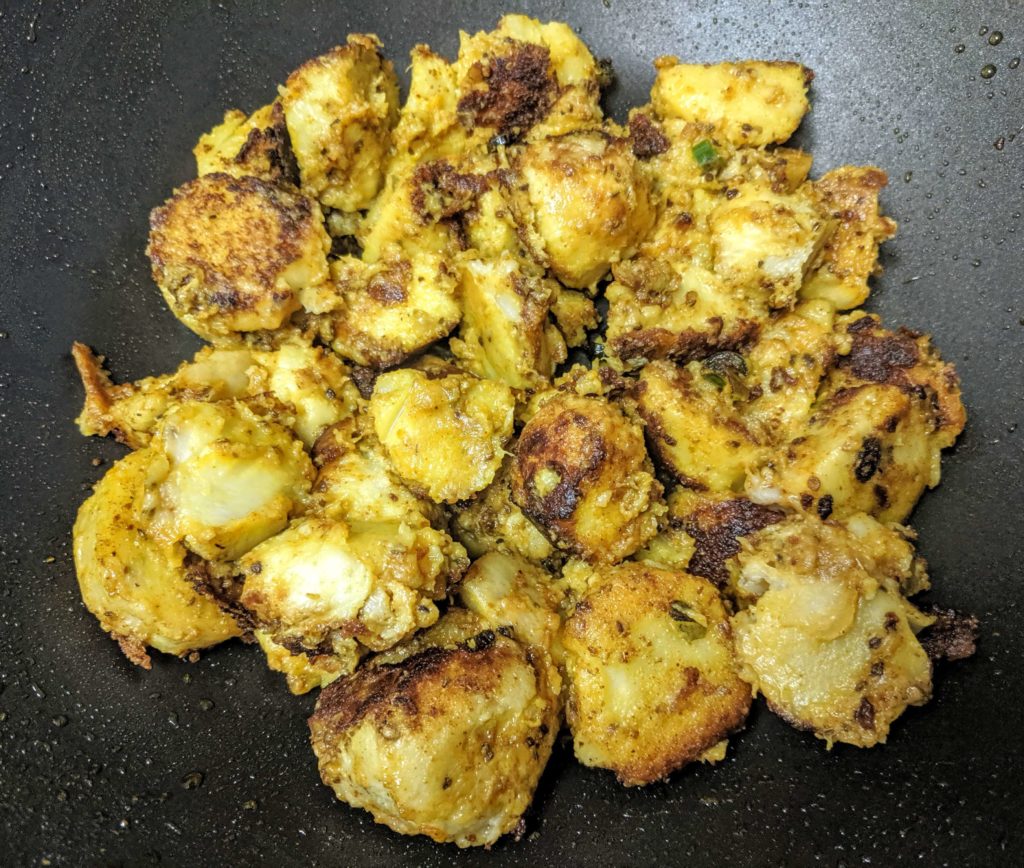
- Flip the arbi and cook from all sides till crispy.

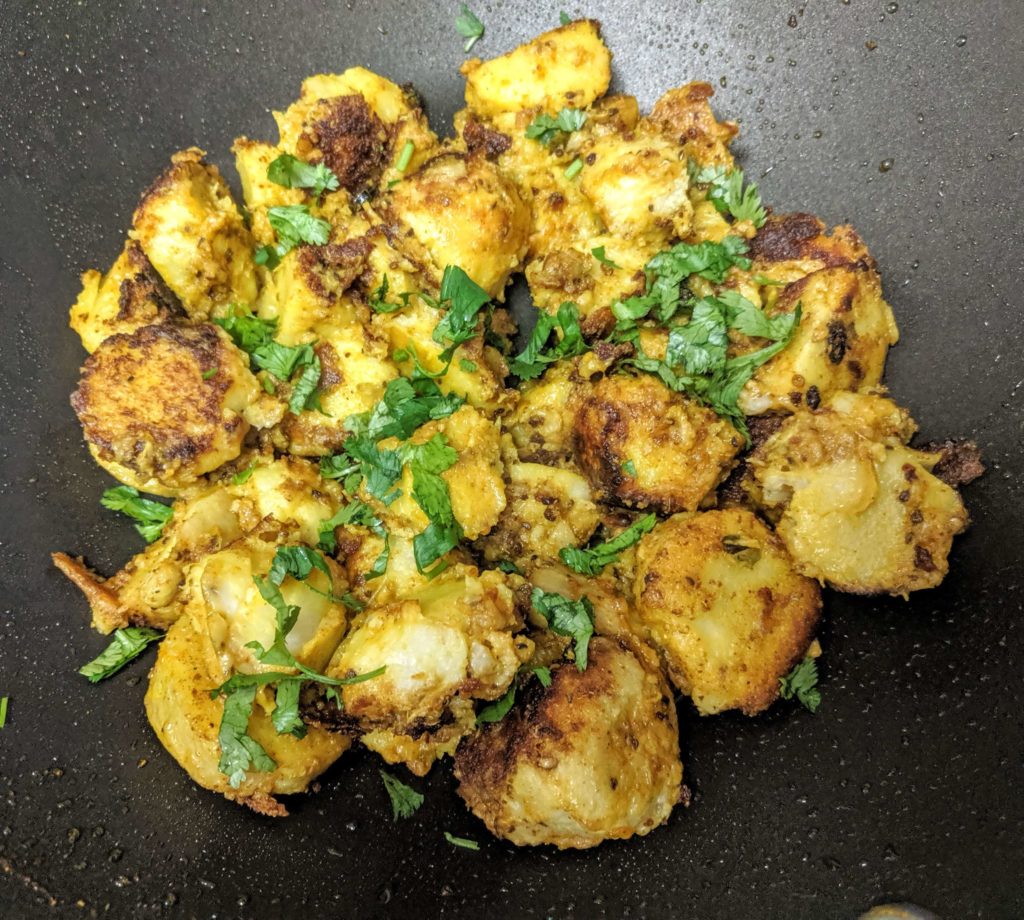
- Add finely chopped coriander leaves to the arbi. Also sprinkle some lemon juice and mix well.

- Arbi Ki Sabji is ready. Serve it hot with roti or naan.

Before You Go...
Don't forget to Pin this post to save it for later. You can also Subscribe to our mailing list or follow us on Facebook, Pinterest, Instagram or Twitter to see more delicious food recipes.
We'd love to know your thoughts about this dish! Please leave a comment or share a picture on Facebook or Instagram with the hashtag #vegecravings.



Superb recipe with authenticity, images are so good and all steps are mentioned clearly
Thanks Diwakar 🙂